Saturday, August 31, 2013

Wine Bottle Vase

This tutorial shows how wine bottles can be easily transformed into vases after you've enjoyed your grapes!  After seeing this on Pinterest, I began saving my empties instead of recycling them.  The only materials needed: bottles, spray paint, and rubber bands.  That's it!


When I use spray paint, I do it outside because the fumes can get pretty outrageous even in my open basement.

1) Place your rubber band(s) around the bottle in the desired design.  I placed one at the bottom of the bottle and made a figure eight on the body of the bottle with the other (see both sides of the vase in the final photos at bottom of post).

2) Begin spray painting in the color of your choice (I chose dark steel, but gold and bronze would also look great).

3) Let your vase dry, then *carefully* remove the rubber band.  The paint tends to peel, so slowly remove the band.

4) Add fresh flowers and display your up-cycled piece of artwork!
 
Hydrangeas look great in the vase
So do asters!


Thanks for reading- I hope I've inspired you to up-cycle something of your own for a fresh new look!  If you like it, Pin It!

Keep Improving!
Nancy


Tuesday, August 20, 2013

DIY Coffee Table Tray

What a steal!  Coffee table trays can be easily spotted in a number of hobby/craft stores like Michael's Crafts, A.C. Moore, and Hobby Lobby.  Pick up any style you want, some acrylic paint, and a foam brush.  Some sanding may be required depending on how rustic your wood's surface is.

I chose to create a coffee table tray and a wooden decor craft with our last name and year of marriage.


Mainly, I chose to use Martha Stewart acrylic paint in the below colors (the mint is called 'pea shoot'):


I started out by painting the bottom of the tray, waited for that to dry, then used blue painter's tape around the perimeter so I wouldn't get any mint paint on the bottom of the freshly painted tray.


Next, I used a stencil and painted the center of the tray.  The stencil design is optional, but I like how it makes the tray a little more unique.  


In retrospect, I would not suggest even a small foam brush if you plan to use a stencil.  I would instead opt for spray paint here, as I definitely encountered a bit of a bleeding problem.

For the Name/Year plaque, I also used blue tape to hold the stencil letters.  Below is a photo of the push-out part of the stencil as a template to see how I wanted the final product to look.


Finally, when everything was dry, I sealed both the tray and my hanging wooden tray with clear wood stain to seal it.  I chose a glossy finish, but a matte finish is also available.


plaque displayed on the bookshelf


Last step- display your tray and enjoy!  Feel free to Pin any photo above!

My next post will be about creating a vase out of a wine bottle.  Up-cycling at its finest!

Keep Improving!
Nancy


Monday, August 19, 2013

Stairway Transformation

Welcome!  Below is a photo tutorial of how we updated our staircase shortly after we moved in to our new home.


It was constructor-grade build, and I had fallen in love with images of white and black staircases online like the one at right:


The supplies required to turn the banister and spindles into a work of art are outlined below:

* high gloss black paint
* high gloss white paint
 (I use Behr for everything in my home.  Home Depot carries Behr and with lots of gift cards, it was an obvious choice.)
* 3M sandpaper
* painter's tape
* plastic or cloth dropcloths
* regular paintbrush
* large sponge brush

1) Sand down the entire surface to be painted.  This means each spindle and the entire banister on each side.
2) Wipe excess shavings off of banister and spindles with towel or cloth.
3) I chose to paint the spindles first.  I did not cover the banister while I did this, but I did tape off the bottom of each spindle in case my white paint wasn't *exactly* the same (didn't want the two whites to clash).


4) After finishing the spindles with the sponge brush for the curved parts (about 3 coats of white paint) and allowing them to dry, I covered them with trashbags I opened at the seams.  I did this to prevent any black paint from accidentally dripping on them during the banister painting process.
5) I dis-assembled the upper handrail (the one that attaches with brass to the wall that is not attached to spindles) and put that on a drop cloth in the living room.
6) Paint the handrails and the detached handrail with the regular paintbrush.  This took less coats than the white because it is so much darker.  This was about 2 coats.

See banister in living room in background of photo

7)  Let everything dry, then check for possible areas to touch up.
8) Re-assemble detached handrail and enjoy your newly updated staircase!


And that's it!  VoilĂ !
Thanks so much for reading.  I would love to hear your comments or questions.  If you've done similar projects, I'd love to see them, so feel free to share a photo or link with me!

Keep Improving!
Nancy

Moving on!

Hello!  Thanks for visiting Interior Shareapy.  Due to my infatuation with anything and everything Jeff Lewis, the name of my blog IS a play on his latest reality show's namesake.


I began this blog because I recently moved into a house from a tiny one room condo.  Needless to stay, Pinterest has become my go-to site for anything related to the "home."  Whether it be decor, improvement, color schemes, paint ideas, etc., I have found Pinterest much more helpful than searching the internet blindly.  Oftentimes, I can find great information linked from people's photos to their blogs, but I'm sure you've encountered that pesky dead-end.  In order to alleviate this problem, I decided to start a blog about all the pinterest-y things I have done and how I've accomplished them with my sanity and checking account safely intact.

To begin, I'll start with the move that inspired me to visit Pinterest for the first time.  Transitioning from a one bedroom condo to a four bedroom house was quite an adjustment.  Below are photos of our condo:


I definitely miss the stainless steel fridge!


 Our old living room.


  Our bedroom:


We are so blessed and privileged to be able to move into our new home after three years of saving and waiting for the right one to come along!


Future posts will include before and after photos of the living room, dining room, family room, closet, and a couple of the upstairs bedrooms.

Projects I have completed and will post about soon (with photos!) are
*closet to mudroom transformation
*spare room to closet room with stencil accent wall
*updated doorknobs throughout the home
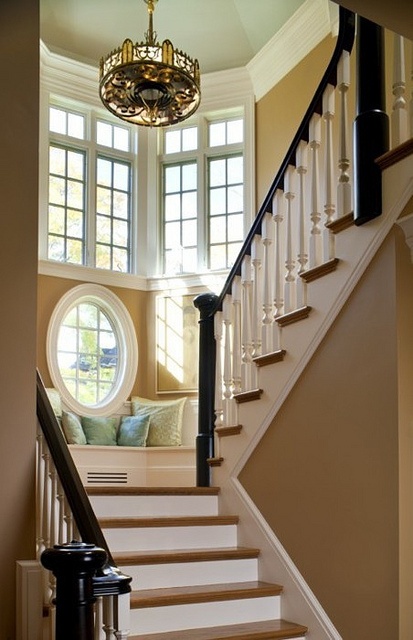
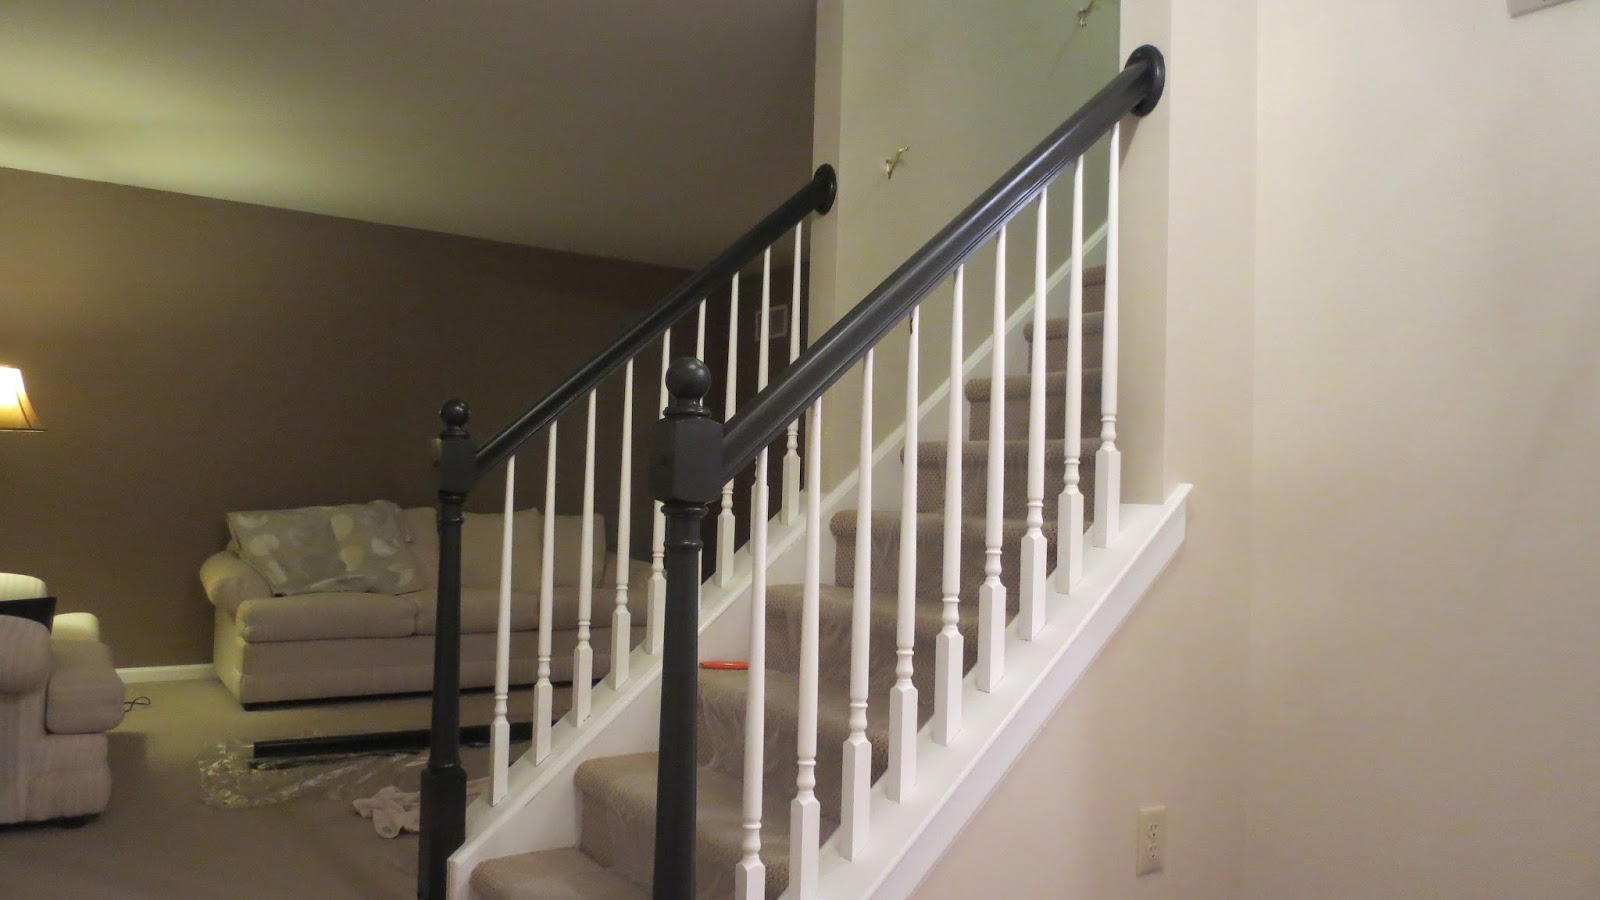
*banister paint job (from natural wood to black/white paint)
*several pinterest decor crafts like spray painted wine bottle and photo wall configurations

Thanks for reading and keep improving!
Nancy