

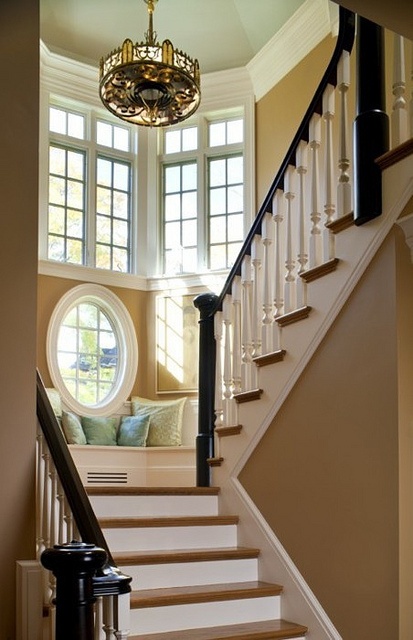
It was constructor-grade build, and I had fallen in love with images of white and black staircases online like the one at right:
The supplies required to turn the banister and spindles into a work of art are outlined below:
* high gloss black paint
* high gloss white paint
(I use Behr for everything in my home. Home Depot carries Behr and with lots of gift cards, it was an obvious choice.)
* 3M sandpaper
* painter's tape
* plastic or cloth dropcloths
* regular paintbrush
* large sponge brush
1) Sand down the entire surface to be painted. This means each spindle and the entire banister on each side.
2) Wipe excess shavings off of banister and spindles with towel or cloth.
3) I chose to paint the spindles first. I did not cover the banister while I did this, but I did tape off the bottom of each spindle in case my white paint wasn't *exactly* the same (didn't want the two whites to clash).

4) After finishing the spindles with the sponge brush for the curved parts (about 3 coats of white paint) and allowing them to dry, I covered them with trashbags I opened at the seams. I did this to prevent any black paint from accidentally dripping on them during the banister painting process.
5) I dis-assembled the upper handrail (the one that attaches with brass to the wall that is not attached to spindles) and put that on a drop cloth in the living room.
6) Paint the handrails and the detached handrail with the regular paintbrush. This took less coats than the white because it is so much darker. This was about 2 coats.
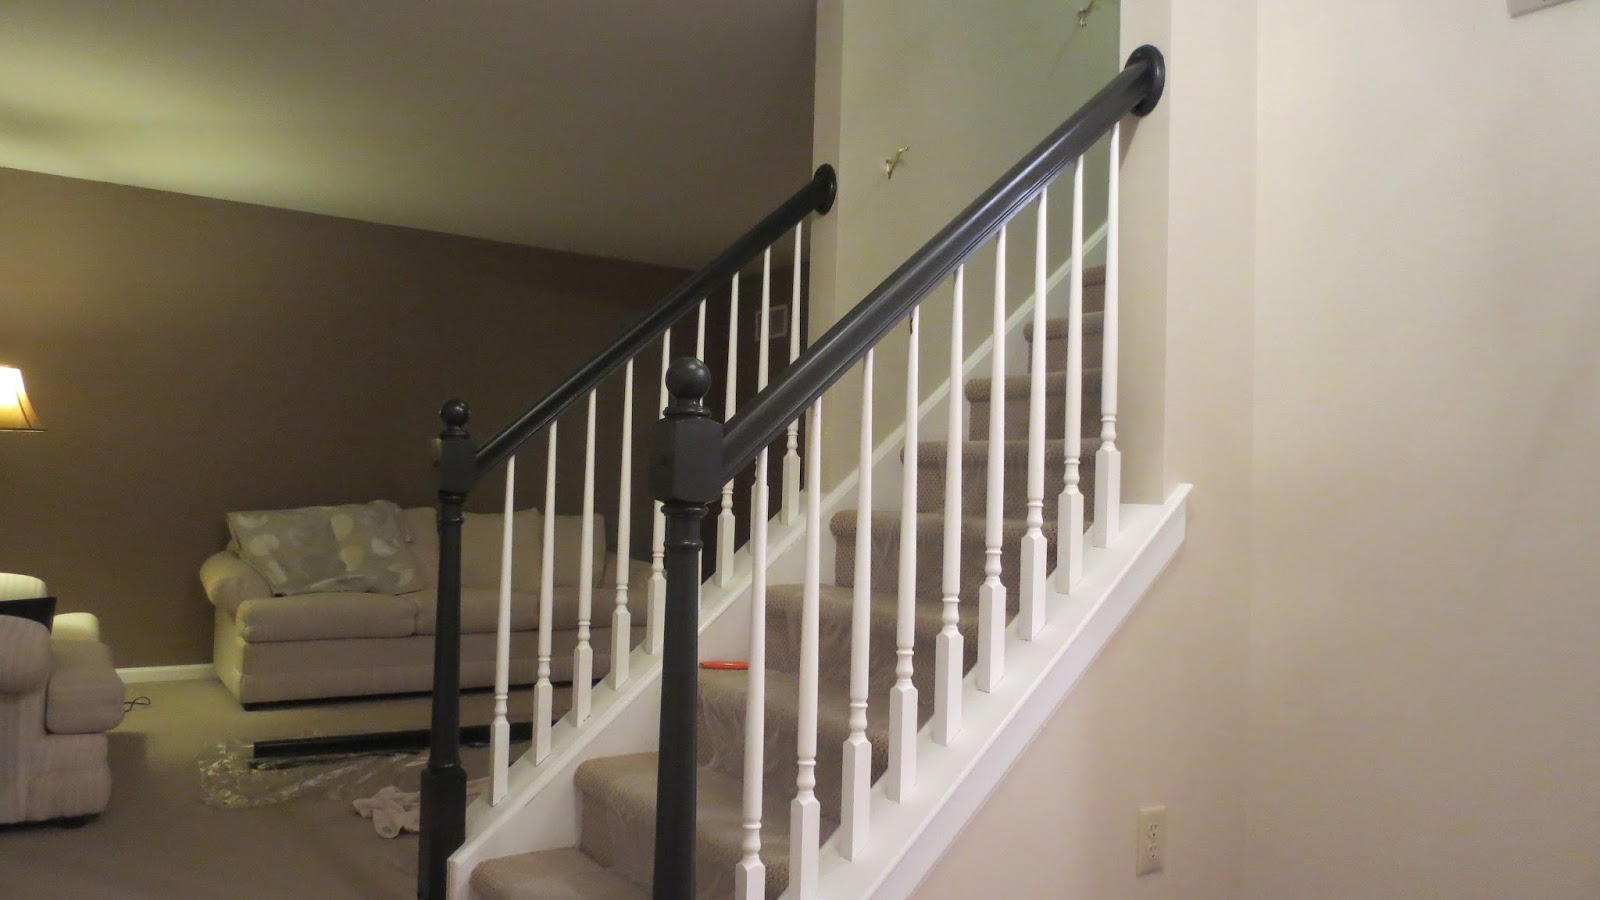 |
| See banister in living room in background of photo |
7) Let everything dry, then check for possible areas to touch up.
8) Re-assemble detached handrail and enjoy your newly updated staircase!

Thanks so much for reading. I would love to hear your comments or questions. If you've done similar projects, I'd love to see them, so feel free to share a photo or link with me!
Keep Improving!
Nancy

No comments:
Post a Comment